A New Roof Does Not Have to Be Stressful
Getting a new roof is one of the largest financial commitments you will make for your home.
You see the price tag, and naturally, you want to know exactly where that money is going.
Most homeowners in Nampa go through this process only once or twice in a lifetime, so the steps often feel like a mystery.
We believe that understanding the timeline removes the anxiety from the project.
Knowledge helps you prepare your property and your family for the work ahead.
Here is the breakdown of a typical roof replacement in the Treasure Valley, from the initial phone call to the final warranty registration.
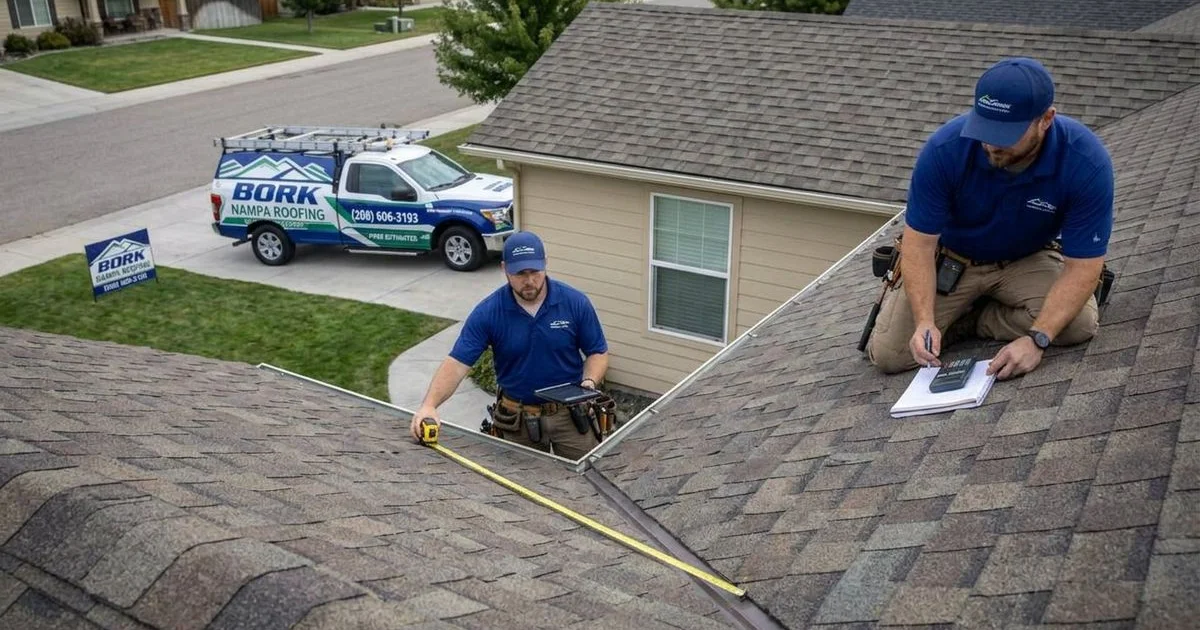
Step 1: The Initial Inspection
Every successful project starts with a forensic-level analysis of your current roof system.
We look far beyond just missing shingles or obvious leaks.
Our team examines the attic ventilation intake, the condition of the plywood decking, and the integrity of the flashing around your chimney.
Proper diagnosis prevents surprise costs later.
In the Treasure Valley, we pay special attention to signs of ice damming, a common issue caused by our freeze-thaw cycles.
At Bork Roofing, our inspections are free and come with a detailed written report.
We document every finding with clear photos so you can see exactly what we see.
The entire assessment typically takes 45 to 60 minutes for a standard 2,500-square-foot home.
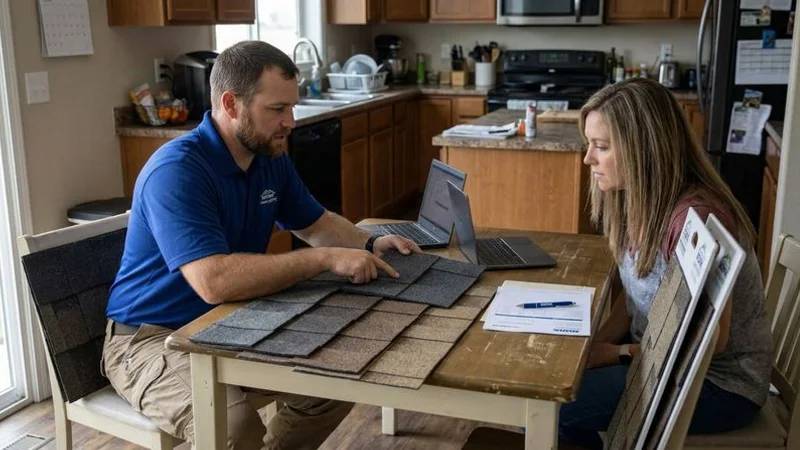
Step 2: The Estimate and Material Selection
You will receive a comprehensive estimate after the inspection is complete.
This document itemizes labor, disposal fees, local permits, and specific material costs.
We ensure transparency by walking you through each line item personally.
This phase is also when you select the products that will protect your home for the next 30 to 50 years.
Nampa homeowners usually decide between two primary material categories based on budget and longevity.
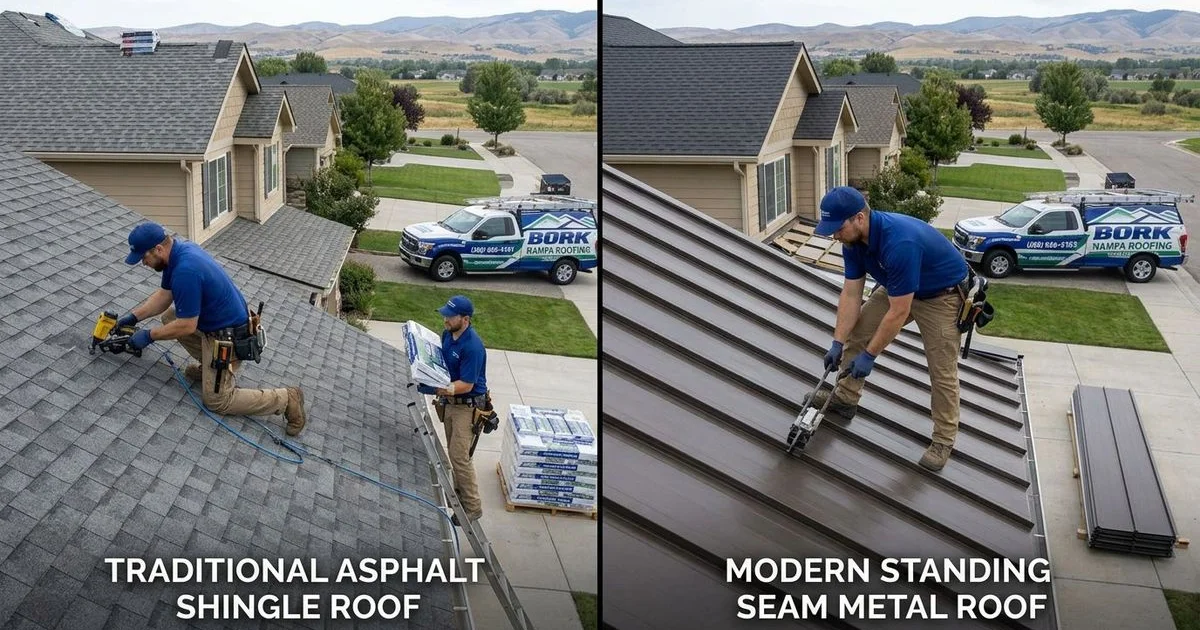
Comparing Your Primary Options
| Feature | Architectural Asphalt Shingles | Metal Roofing (Standing Seam) |
|---|---|---|
| Average Lifespan | 20-30 Years | 40-70 Years |
| Wind Resistance | Up to 130 mph (Class F) | Up to 140+ mph |
| Maintenance | Moderate (Moss removal needed) | Low (Sheds snow/debris easily) |
| Initial Cost | Moderate | High (2-3x cost of asphalt) |
Your contractor will help you weigh these factors against how long you plan to stay in the property.
Color selection plays a huge role in curb appeal and energy efficiency.
Manufacturers like Owens Corning and GAF offer online visualization tools to help you picture the final look.
Step 3: Permits and Scheduling
Professional contractors handle all administrative work with the local municipality.
We file for the necessary building permits through Canyon County Development Services or the City of Nampa.
Adherence to the 2018 International Residential Code (IRC) is non-negotiable for safety and insurance validity.
These codes dictate specific requirements for wind resistance and fire ratings.
The approval process usually takes three to five business days.
Once the permit is in hand and materials are at the distributor, you get a firm start date.
Production schedules in Nampa generally run one to three weeks out.
Spring and summer fill up quickly, so finalizing your decision early ensures you beat the rush.
Step 4: Preparing Your Home
A roof replacement turns your home into a construction site for a few days.
We recommend a specific checklist to keep your personal property safe during the work.
Vibrations from the roof deck can travel through the walls, so interior prep is just as important as exterior prep.
- Relocate vehicles: Move cars to the street or a neighbor’s house to keep the driveway clear for the dump trailer.
- Secure wall hangings: Take down mirrors, pictures, and loose shelving items, especially on the top floor.
- Protect the attic: Cover stored items with old sheets or plastic tarps to shield them from falling dust and granules.
- Clear the perimeter: Move patio furniture, grills, and potted plants at least 15 feet away from the house.
- Plan for pets: Loud noises from compressors and nail guns can cause anxiety in dogs and cats.
Step 5: Tear-Off Day
The crew arrives early, typically between 7:00 and 8:00 AM, to maximize daylight.
We start by protecting your landscaping and HVAC units with heavy-duty tarps and plywood shields.
The first major task is removing every layer of the old roofing system down to the wood deck.
This stage creates the most noise and debris of the entire project.
Our teams use specialized roofing shovels to leverage off old shingles, felt paper, and rusted flashing.
A large dumpster is positioned strategically to catch the bulk of the waste immediately.
Tear-off on an average home usually wraps up by the early afternoon.
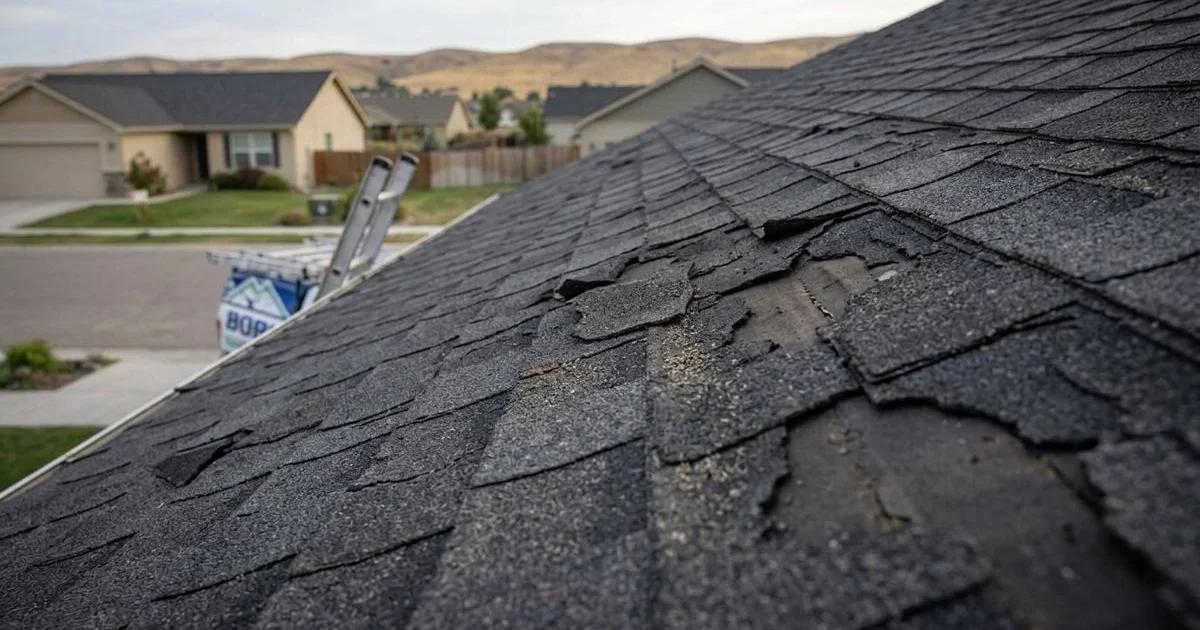
Step 6: Deck Inspection and Repair
The bare wood deck reveals the true health of your roof structure.
We inspect every sheet of plywood or OSB (Oriented Strand Board) for signs of delamination or rot.
Moisture damage often hides beneath the surface until the old shingles are gone.
Common Decking Issues We Find
- Dry Rot: Wood that crumbles due to fungal decay, often found near gutters.
- Delamination: Plywood layers separating caused by high heat in the attic.
- Soft Spots: Areas that bow under weight due to prolonged leaks.
Any compromised wood must be replaced to ensure the new nails hold securely.
We quote replacement costs on a per-sheet basis so you only pay for the materials actually used.
Most older homes in the Treasure Valley require two to three sheets of new decking during a replacement.
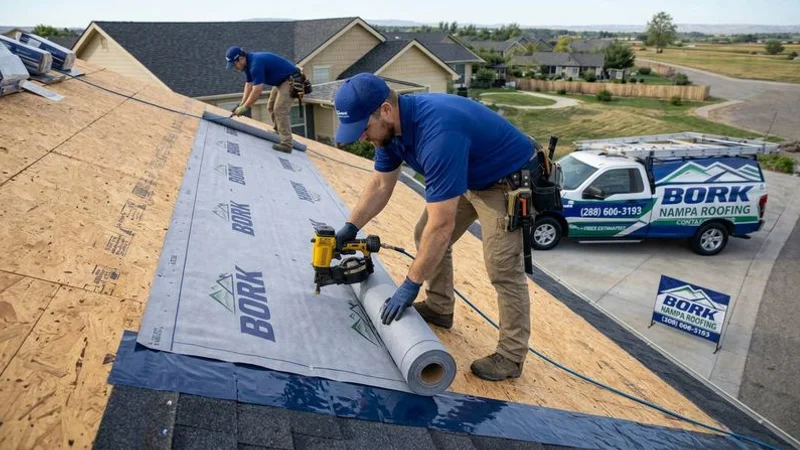
Step 7: Underlayment and Ice Shield Installation
A watertight roof relies on more than just the visible shingles.
We install a high-performance synthetic underlayment that repels water better than old-school felt paper.
This layer provides a secondary barrier against wind-driven rain.
Local building codes in Idaho require specific protection against ice dams.
We apply a self-sealing ice-and-water shield along the eaves, extending 24 inches inside the warm wall line.
Valleys and penetration points like skylights also receive this rubberized membrane.
Proper underlayment is the “hidden insurance” that keeps your home dry during severe winter storms.
Step 8: Shingle or Panel Installation
The installation of the visible roofing material follows a strict manufacturer protocol.
We install asphalt shingles using a six-nail pattern to maximize wind warranty coverage.
Crews work from the eaves upward, carefully staggering the courses to prevent water channels.
Starter strips are applied first to seal the edges against wind uplift.
Metal roofing requires a different approach with precise measurements for every panel.
We cut panels to length and fasten them using concealed clips that allow the metal to expand and contract with temperature changes.
Flashing is custom-bent on-site to fit snugly around chimneys and wall abutments.
This phase consumes the most time, usually taking one to two full days depending on roof complexity.
Step 9: Ventilation and Flashing
A roof needs to breathe to last its full lifespan.
We balance the intake ventilation at the soffits with exhaust ventilation at the ridge.
Proper airflow prevents heat buildup in the summer and moisture condensation in the winter.
Heat trapped in an attic can bake shingles from the bottom up, cutting their life expectancy in half.
We also install new pipe boots and step flashing at all roof-to-wall transitions.
Rust-proof aluminum or steel flashing replaces the old, corroded metal to ensure a permanent seal.
Step 10: Cleanup and Final Inspection
The job is not done until your property looks better than when we arrived.
We run high-powered magnetic rollers over the lawn, driveway, and flower beds to capture stray nails.
Safety for your family and tires is a top priority during cleanup.
Our foreman conducts a final quality control walk-through to verify every detail meets our standards.
We then invite you to inspect the work from the ground and answer any remaining questions.
You will receive a packet containing your warranty registration and care instructions.
At Bork Roofing, every job comes with a lifetime workmanship warranty plus the manufacturer’s material warranty.
How Long Does It All Take?
Timeframes vary based on the size and steepness of the roof.
Most residential projects in Nampa are completed in one to three days.
Factors like discovering extensive wood rot or sudden weather changes can add time to the schedule.
We communicate daily progress updates so you are never left guessing.
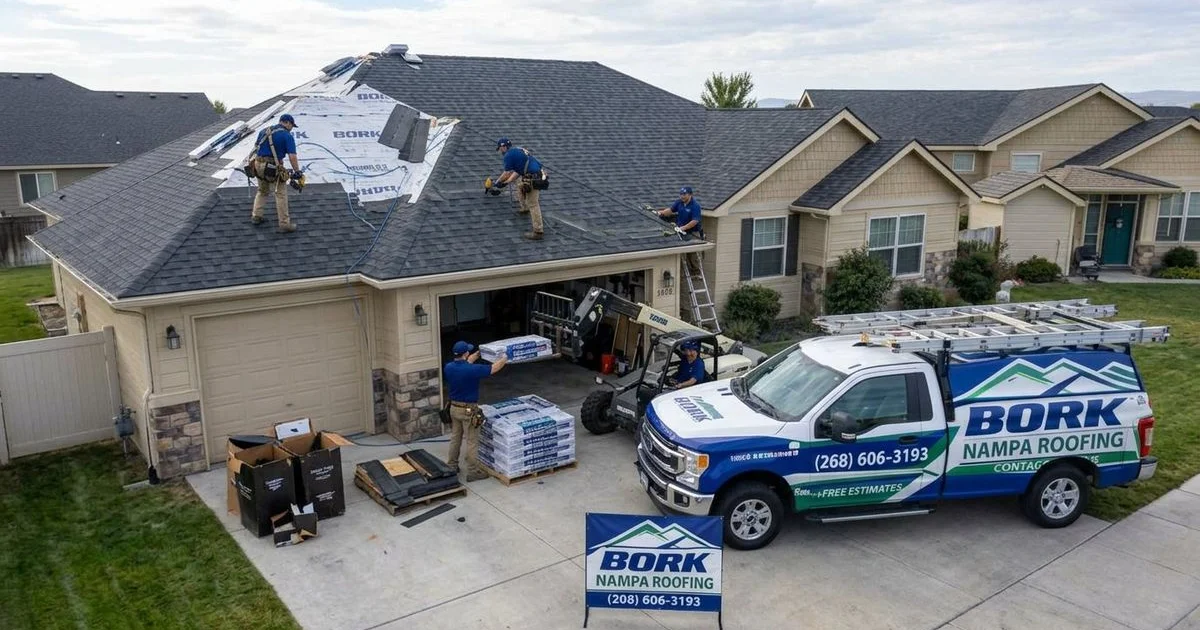
Ready to Get Started?
A secure, beautiful roof protects your home’s value and your family’s comfort.
At Bork Nampa Roofing Contractors, we walk you through every step of the process before we pick up a single tool.
With over 500 completed projects across the Treasure Valley and a commitment to clean, professional jobsites, we make the roof replacement experience as straightforward as possible.
Call us at (208) 606-3193 or schedule your free inspection to take the first step toward a new roof.

Bork Roofing Team
Licensed Roofing Contractor
Licensed roofing contractors serving Nampa and the Treasure Valley.