Why Idaho Homeowners Need to Understand the Claims Process
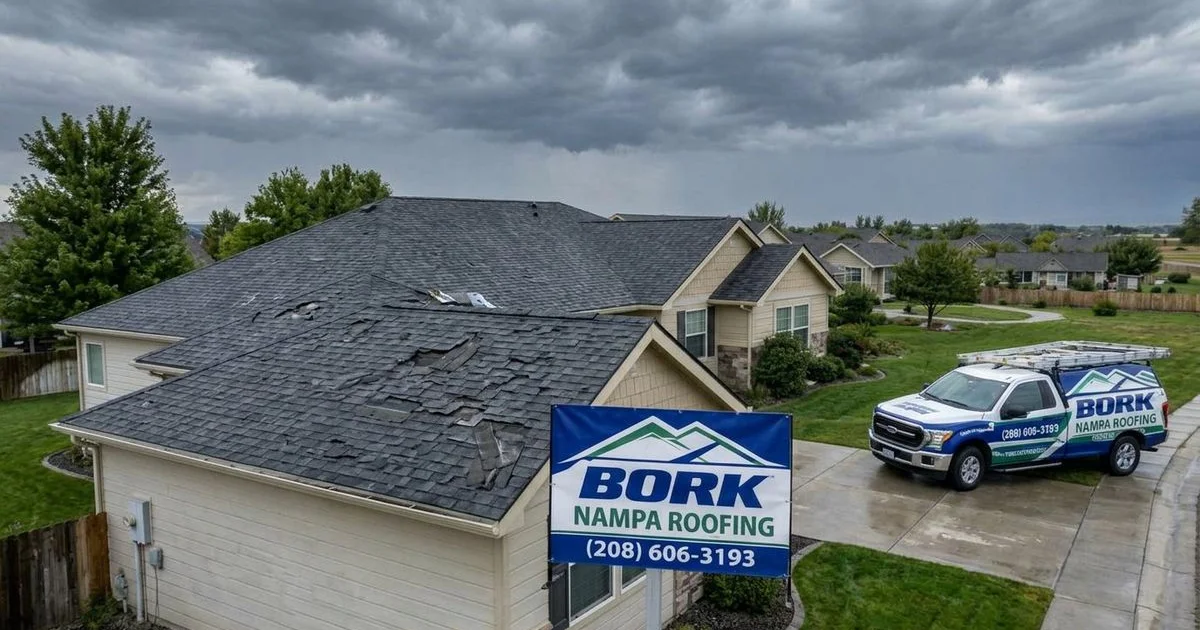
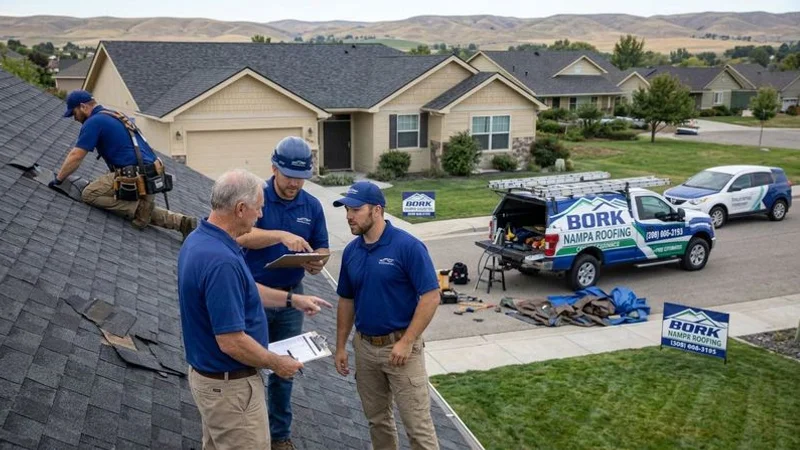
You know how frustrating it is to find shingles scattered across your lawn after a Treasure Valley windstorm. That mess is more than just an eyesore. It is an immediate financial risk to your biggest asset. We have guided hundreds of locals through this exact situation.
Most homeowners assume their policy covers everything automatically. The reality is often quite different. Idaho insurance policies are contracts filled with specific exclusions and requirements that can leave you underfunded if you miss a step.
We are going to break down the exact regulations, documentation strategies, and industry secrets you need to know.
A poorly handled claim often results in a settlement that covers only a fraction of the actual repair cost. A well-documented file submitted correctly ensures you receive the full coverage you paid for.
When Should You File a Claim?
Not every loose shingle warrants a call to your insurance agent. We frequently advise clients that filing small claims can cost you more in the long run through increased premiums.
You need to weigh the repair cost against your specific deductible and claim history.
The Financial Breakdown:
| Scenario | Estimated Repair Cost | Deductible | Recommendation |
|---|---|---|---|
| Major Event | $15,000+ | $1,000 | File Immediately |
| Minor Wind | $1,200 | $1,000 | Pay Out of Pocket |
| Gray Area | $2,500 | $1,000 | Get Professional Inspection First |
File a claim immediately when:
- Sudden events occur: A specific storm caused distinct damage like a fallen tree or hail impact.
- Costs are high: The repair estimate exceeds your deductible by at least $1,500 to $2,000.
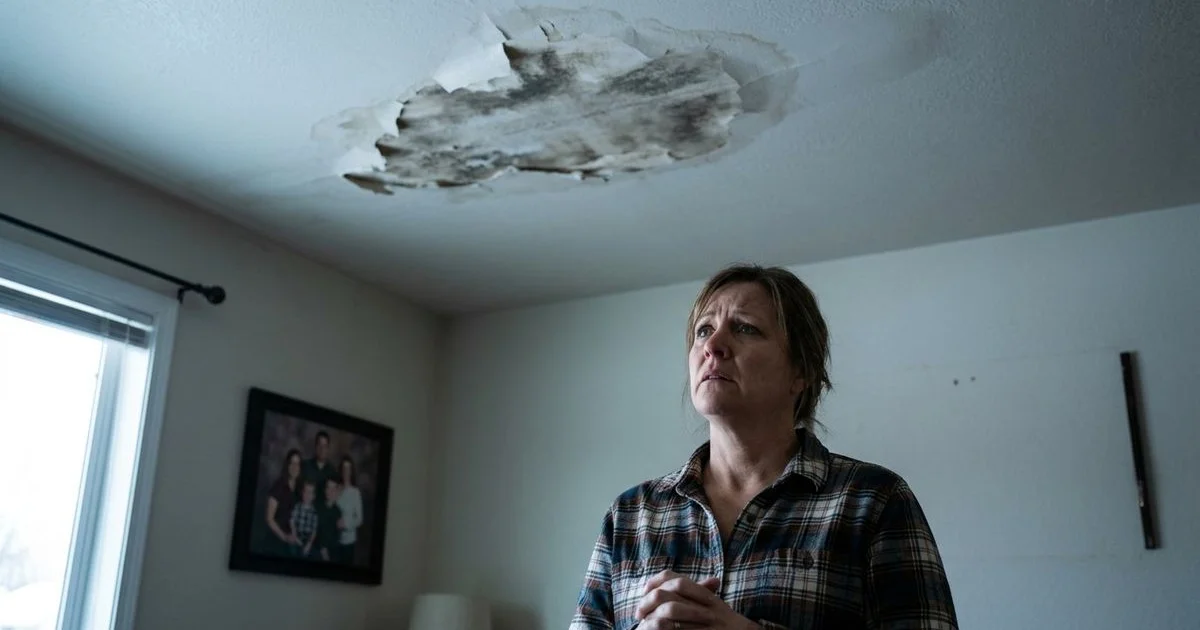
- Interior damage exists: Water is actively leaking into your attic or living space.
- Scope is wide: Multiple slopes of the roof show consistent storm damage.
Consider paying out of pocket when:
- Costs are low: The repair bill is within a few hundred dollars of your deductible.
- Damage is old: The issue stems from long-term wear, lack of maintenance, or age.
- History is heavy: You have filed two or more claims in the last three years.
If you are unsure, get a professional opinion before alerting your insurer. At Bork Roofing, we provide free assessments and honest advice about whether the damage justifies a claim.
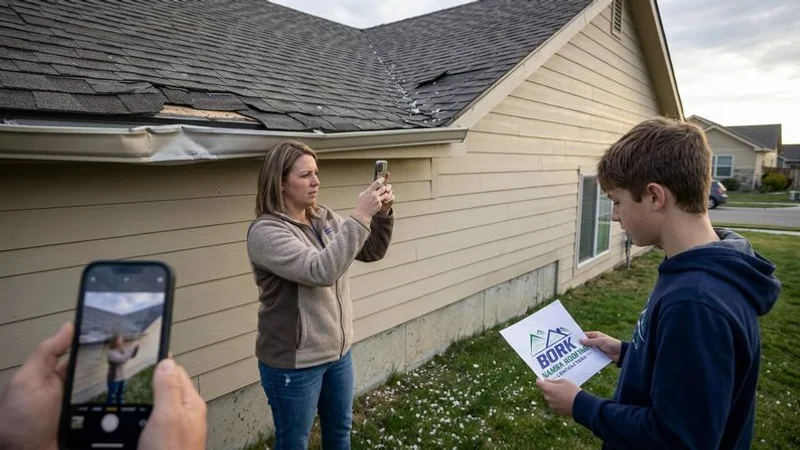
Step 1: Document the Damage Before Anything Else
The success of your claim hinges on the quality of your evidence. We have seen legitimate claims denied simply because the homeowner cleaned up the debris before taking pictures.
You must create a “time capsule” of the event immediately after the storm passes and it is safe to go outside.
Photographic evidence to collect:
- Wide context shots: Capture all four elevations (sides) of your home from the ground.
- Macro details: Take close-ups of bruised shingles, missing tabs, and dents on soft metals like vents.
- Peripheral damage: Photograph dented downspouts, shredded window screens, or damaged fence stain.
- Interior intrusion: Document water stains on ceilings or wet insulation in the attic.
Written documentation to prepare:
- Exact timeline: Note the date and approximate time the damage occurred.
- Official weather data: Print a local weather report from that date showing wind speeds or hail size.
- Maintenance logs: Gather records of when the roof was installed or last repaired.
This data is vital because insurance policies cover “sudden and accidental” loss. Clear evidence proves the damage is fresh and not the result of neglect.
Step 2: Contact Your Insurance Company Promptly
Once your evidence is ready, you need to officially open the claim. We recommend doing this within 30 days of the event, even though policies vary.
Idaho Department of Insurance regulations (IDAPA) generally require insurers to acknowledge your claim notification within 15 days. Delaying your report gives the insurance company grounds to argue that the damage was worsened by your inaction.
Information to have ready when you call:
- Policy details: Have your policy number and the full name of the insured ready.
- Loss specifics: State the date of loss clearly and the type of event (e.g., “Windstorm on March 14th”).
- Mitigation status: Confirm if you have placed tarps to stop active leaks.
- Availability: Provide the best times for an adjuster to visit.
The representative will assign you a claim number. Write this down immediately. It is the key to tracking every document and conversation moving forward.
Step 3: Get an Independent Roofing Inspection
Most homeowners skip this step, and it is a costly mistake. We strongly advise hiring a local roofing contractor to inspect your roof before the insurance adjuster arrives.
Insurance adjusters are often independent contractors handling dozens of files a week. They may not specialize in roofing or know the specific building codes for Canyon or Ada County.
Why an independent inspection matters:
- Expert eyes: A roofer knows how to spot “unsealed” shingles that look fine but have failed adhesion bonds.
- Code compliance: We identify required upgrades, such as ice and water shield at the eaves, that adjusters might overlook.
- Accurate scope: A professional estimate establishes a baseline cost for the project.
Your contractor creates a counterbalance to the insurance company’s assessment. If the numbers do not match later, you have the data needed to challenge their offer.
Bork Roofing provides free storm damage inspections with detailed photo reports specifically formatted for insurance claims. We have worked with every major insurer operating in Idaho and know exactly what documentation they need.
Step 4: Be Present During the Adjuster’s Inspection
You should never let an adjuster inspect your property alone. We always try to meet the adjuster on-site to advocate for the homeowner.
This meeting is where the “Scope of Loss” is created. If damage is not documented during this visit, it will not be included in your initial check.
During the inspection:
- Walk the property: Point out the specific collateral damage you photographed earlier.
- Hand over data: Provide physical copies of your contractor’s report and your pre-cleanup photos.
- Ask questions: Request that the adjuster explain what they are finding as they move around the roof.
- Stay neutral: Answer questions honestly but avoid speculating on the cause of damage if you are unsure.
Do not sign a settlement release during this visit. You need time to review the findings in detail.
Step 5: Review the Settlement Offer Carefully
Your insurance carrier will send a “loss statement” or settlement offer after the inspection. This document is often confusing and formatted using software like Xactimate.
We recommend sitting down with your contractor to compare this offer against the actual cost of construction.
The settlement should include:
- Tear-off: The cost to remove and dispose of all layers of existing roofing.
- Components: Shingles, felt/synthetic underlayment, drip edge, and flashing.
- Labor: Current market rates for professional installation in Idaho.
- Code Upgrades: Items required by local law, such as specific ventilation standards.
- Taxes and Fees: Permit costs and applicable sales tax on materials.
Understanding Your Payment Structure:
- RCV (Replacement Cost Value): This is the full cost to repair the roof at today’s prices.
- ACV (Actual Cash Value): This is the RCV minus depreciation (loss of value due to age).
- Depreciation: If you have an RCV policy, this money is “recoverable.” You get it after the work is done.
If the offer seems low, do not panic. It is just the opening number.
Step 6: File a Supplement if the Settlement Falls Short
It is rare for an initial insurance estimate to be 100% accurate. We file supplements on a majority of insurance restoration projects to ensure proper funding.
A supplement is simply a formal request for additional funds to cover omitted items or pricing discrepancies.
Your roofing contractor creates a package including:
- Photo proof: Visual evidence of damage that was missed in the first report.
- Invoice support: quotes from local suppliers showing that the insurer’s material pricing is outdated.
- Code citations: Excerpts from the International Residential Code (IRC) adopted by Idaho showing why a repair method is illegal or insufficient.
- Manufacturer specs: Installation manuals proving that certain components must be replaced, not reused.
Most supplements are resolved within two to four weeks. Adjusters generally accept these corrections when they are supported by facts and clear documentation.
Common Mistakes That Hurt Idaho Homeowners
Insurance claims are strict legal and financial processes. We see homeowners make simple errors that give insurers an easy way to reduce or deny a payout.
Avoid these pitfalls:
- Waiting too long: Idaho winters are harsh. Small leaks can turn into rotted decking quickly through freeze-thaw cycles.
- Permanent patching: Do not replace shingles before the adjuster sees them. Use a tarp for emergency protection instead.
- Trusting the “Ladder Assist”: The person climbing the roof for the insurance company is not there to find you money. They are there to document minimums.
- Hiring door-knockers: “Storm chasers” often flood the Treasure Valley after big events. They lack local licenses and disappear when warranty issues arise.
- Assignment of Benefits (AOB): Never sign a document that gives your rights to the claim over to a contractor. You should remain in control of the money and the decisions.
Timeline Expectations for Idaho Claims
The speed of your claim depends on the severity of the storm and the carrier’s workload. We track these timelines to help set realistic expectations for our clients.
| Step | Standard Duration |
|---|---|
| Initial Report | File within 24-48 hours of damage |
| Adjuster Contact | 3-5 business days after filing |
| Site Inspection | 1-2 weeks after contact (weather permitting) |
| First Check Issue | 7-10 days after inspection |
| Supplement Review | 10-21 days after submission |
| Final Payment | 1-2 weeks after work completion |
Major regional storms will extend these times significantly. Getting your file into the queue early is your best defense against delays.
Bork Roofing Makes Insurance Claims Easier
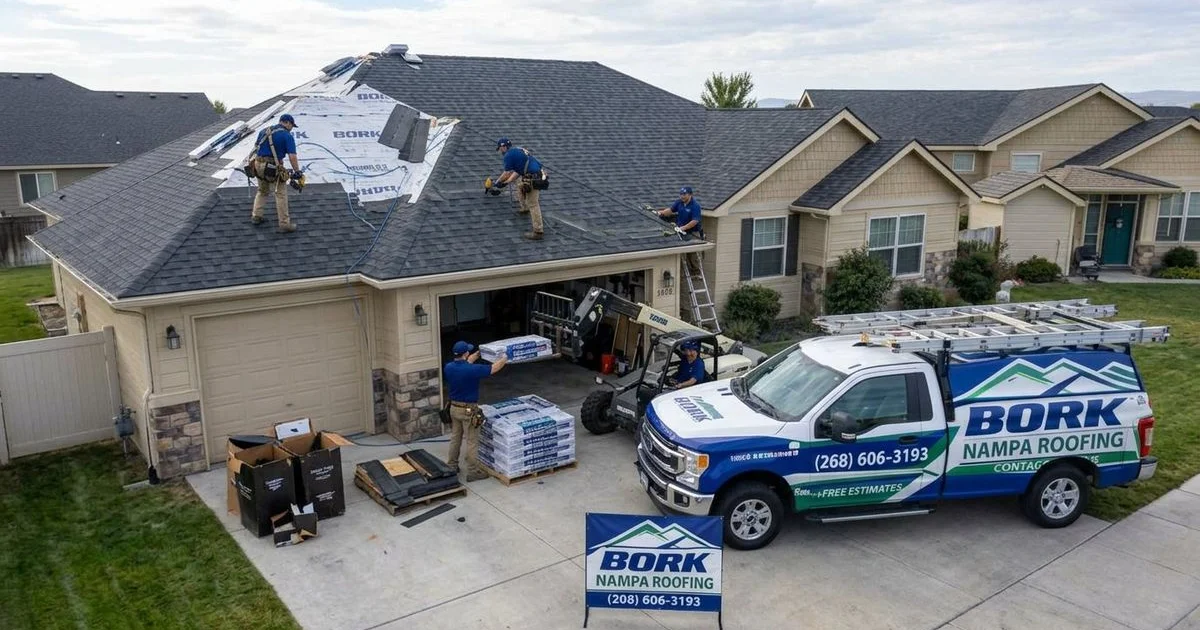
Dealing with insurance paperwork is the last thing you want to do when your home is damaged. Bork Nampa Roofing Contractors works alongside Idaho homeowners to ensure the process is fair and transparent.
We handle the technical documentation, meet with adjusters, and verify that every code requirement is met.
Call us at (208) 606-3193 to schedule your free storm damage inspection or contact us online. We respond quickly because we know that when it comes to your roof, time is the most critical factor.

Bork Roofing Team
Licensed Roofing Contractor
Licensed roofing contractors serving Nampa and the Treasure Valley.